
Finishing Steps to Take
When it comes to construction, the finishing is as important as laying the foundation. Signaling the last stage of building your home or office, finishing work is perhaps the most challenging part of the construction process.
For some, this stage of construction is quite a slow, painstaking process. Rightfully so because it entails careful attention to details and involves working closely with your interior designer and constructor.
At this point, when you team up with Chandra Interiors, we make sure that our construction team reviews whether all your design requirements are met, that all safety regulations and market standards are followed, and that everything is functional.
By doing so, we want to make sure that all make necessary adjustments (if any) are done to rectify possible construction sins and make your home a truly livable space.
At this point, a checklist of the remaining works to be done before you can move in to your dream home or open your dream business.
1. SET UP THE UNDERLAYMENT.
Beneath the visible covering is the underlayment, a layer between the sub-floor and the top floor. Underlayment primarily provides smooth, flat surface for easy installation of the surface flooring. It helps improve structural stability. Its other functions may include sound proofing for footsteps, soften the impact when one walks on the floor, and act as moisture barrier. Different kinds and materials are utilized for underlayment, depending on the floor that it supports.
2. SCRUTINIZE ELECTRICAL.
From this point on, it’s all about making sure that your electrical system is working. From the main service panel to circuit breakers and finally to your devices, the electrician should check them. By this time, the light fixtures, wall outlets, switches and cover platers should be already installed.
3. TAKE CARE OF PLUMBING.
At the early part of the construction, the plumber would do rough plumbing, including laying down the pipes. In the finishing phase, he should return to complete the work. Sinks, toilets and faucets, as well as heating system, should be installed. It is also the time to hook up the water and sewer lines.
4. TRIM THE CEILING.
Humidity and concealment of the mechanical and electrical systems should be consider when finishing the ceiling. When design right, ceiling should be able to help in distributing light and air inside the structure.
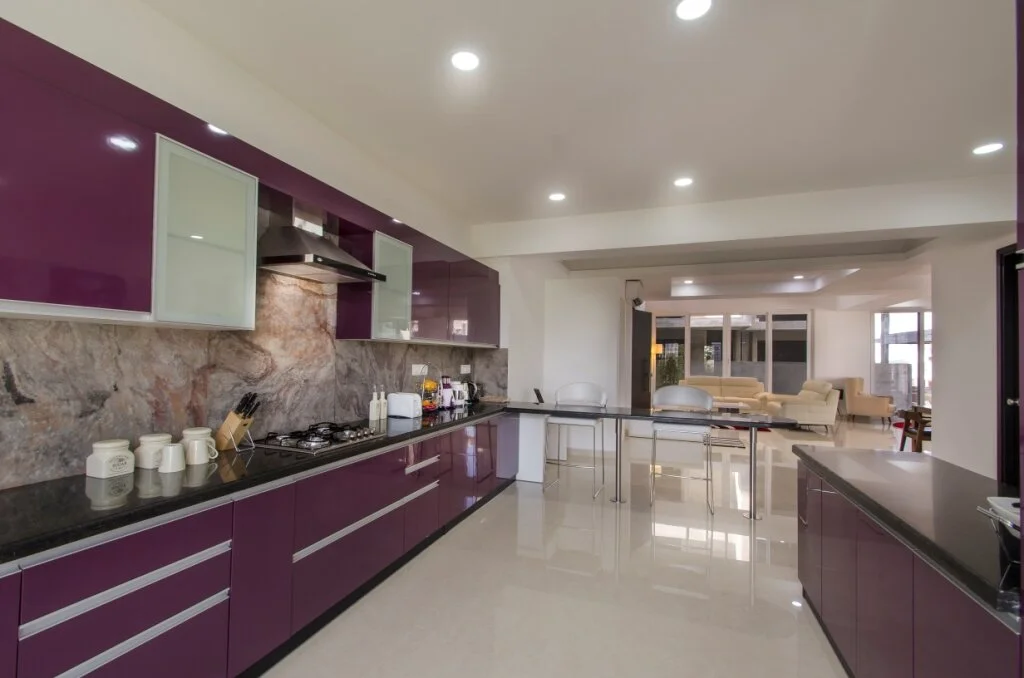
5. DO THE COUNTERS AND CABINETS.
Lay out where the counters and cabinets should go, making sure that they are aligned on the walls.
6. WORK THE WALLS.
After the counters and cabinets are installed, it is time to check on the walls. At this point, doors are fixed in place, as well as the molding of the doors, windows and baseboards.
After that, one can start painting or do the wallpaper on the walls. In our previous blog entry, walls can be customized in different ways. Spruce the walls with colors, textures, patterns, panels, and other materials to visually enhance it.
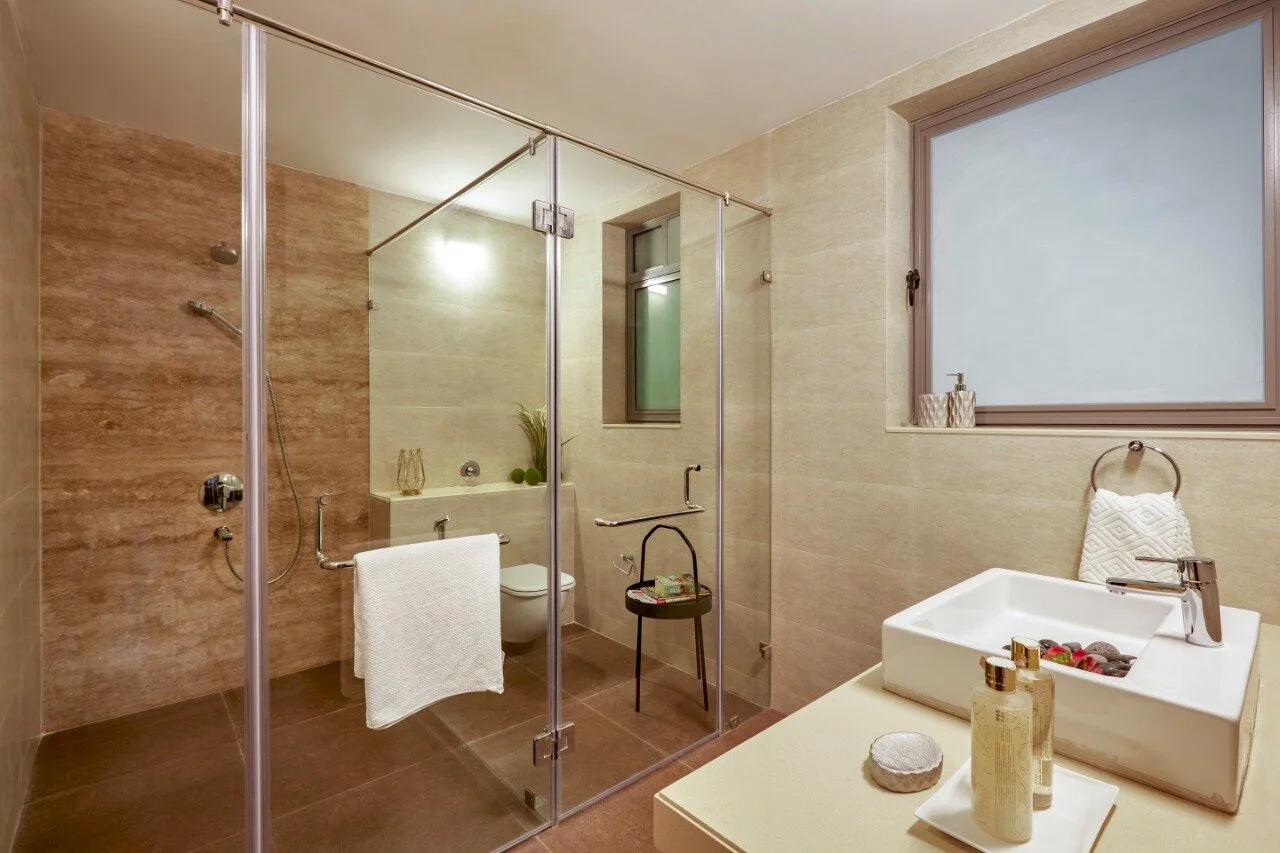
7. TIME TO COVER THE FLOOR
After all the construction works are done, finishing boils down to putting the floor covering. Working with your interior designer, you can do hardwood, laminated, tiled, engineered wood, vinyl or carpeted flooring.
Chandra Interiors expert designers are always available to help you in your needs. Call us at +91-80-4095 3487